Injuries can be a real hassle when you train Brazilian Jiu Jitsu! Everything seems to be going fine, you’re having fun and enjoying your progress… But than – POP! CRACK! And the next time you’ll train BJJ will be anything but soon.
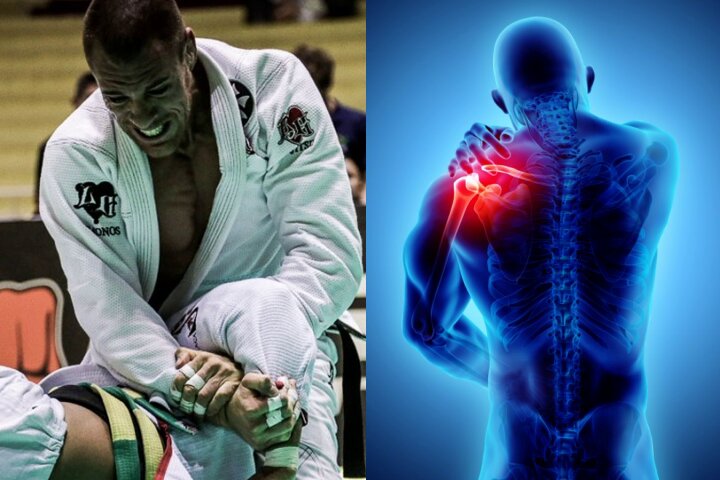
Now, one of the most frequent injuries is that of your shoulder; more specifically, of the rotator cuff. It’s really easy to injure, so you need to strengthen it as soon as possible!
WHAT IS THE ROTATOR CUFF AND WHY IS IT SO EASY TO INJURE?
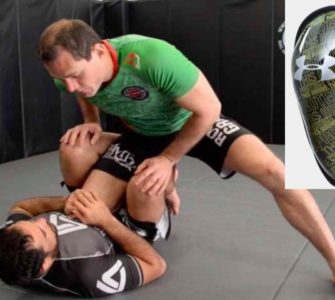
The rotator cuff that’s found on the back of your shoulder represents a group of muscles and tendons, whose function is to lift your arm up overhead and to keep it in place. Now, these tendons that enable your rotator cuff to move operate in a really limited space; and if you repeat the same arm movement (most often the overhead one) too often, you further narrow the space where these tendons reside. This, alongside other factors – such as applying pressure and unnatural movements to the shoulder – can make your rotator cuff an easy injury target.
So, when you injure it, you won’t feel just pain, but you’ll also experience an inability to lift your arm forward and up. This will severely limit your options in BJJ; plus, it’ll make sleeping on one side of your body extremely uncomfortable.
It goes without saying that BJJ and sleep (especially after that long, difficult training session) are the things which must not be foregone. Therefore, you must strengthen your rotator cuff!
ROTATOR CUFF EXERCISES
There’s a whole library of the possible rotator cuff exercises that you could do, so feel free to search for them on Youtube. However, for starters, you can begin with the following ones! All that you need is an elastic band, a place to anchor it and a wall.
For the first exercise, you’ll grab the elastic band with one hand and face the place you’re anchoring it to at 12 ‘o clock, knuckles turned in front. Keep your arm straight, your core braced and your shoulder in a neutral position; and then just pull the elastic band behind yourself with steady, controled movements, squeezing your shoulder blades at the end of them. This will give you a neat sense of tension in your shoulder in no time.
The next one is the so-called „side row“. You’ll turn to the side so that your arm – holding the band – will face the anchor point. Then just repeat the same movement as described above, just with lateral (side) movement.
The third exercise is where you’re standing with the elastic band to your side. Bend at your knees and bend the elbow you’re holding the band with. Then, with the elbow bent throughout the motion, bring the band as close to your chest as possible on one part of the movement; and as far as possible (but with control) on the second part of the movement.
And the fourth is really similar to the previous one, albeit with a small difference. The above-mentioned one is done with internal rotation, whereas this variant is an external rotation one. To perform, just grab the elastic band with the arm that’s further away from it, and repeat the same movement as described above. It’ll have a different feel to it.
Finally, you can use the elastic band to execute the bilateral row (really similar to the „regular“ row you’d do in the gym) and wall push ups. To see how these two are done, as well as for more details on the described exercises, watch the video below: